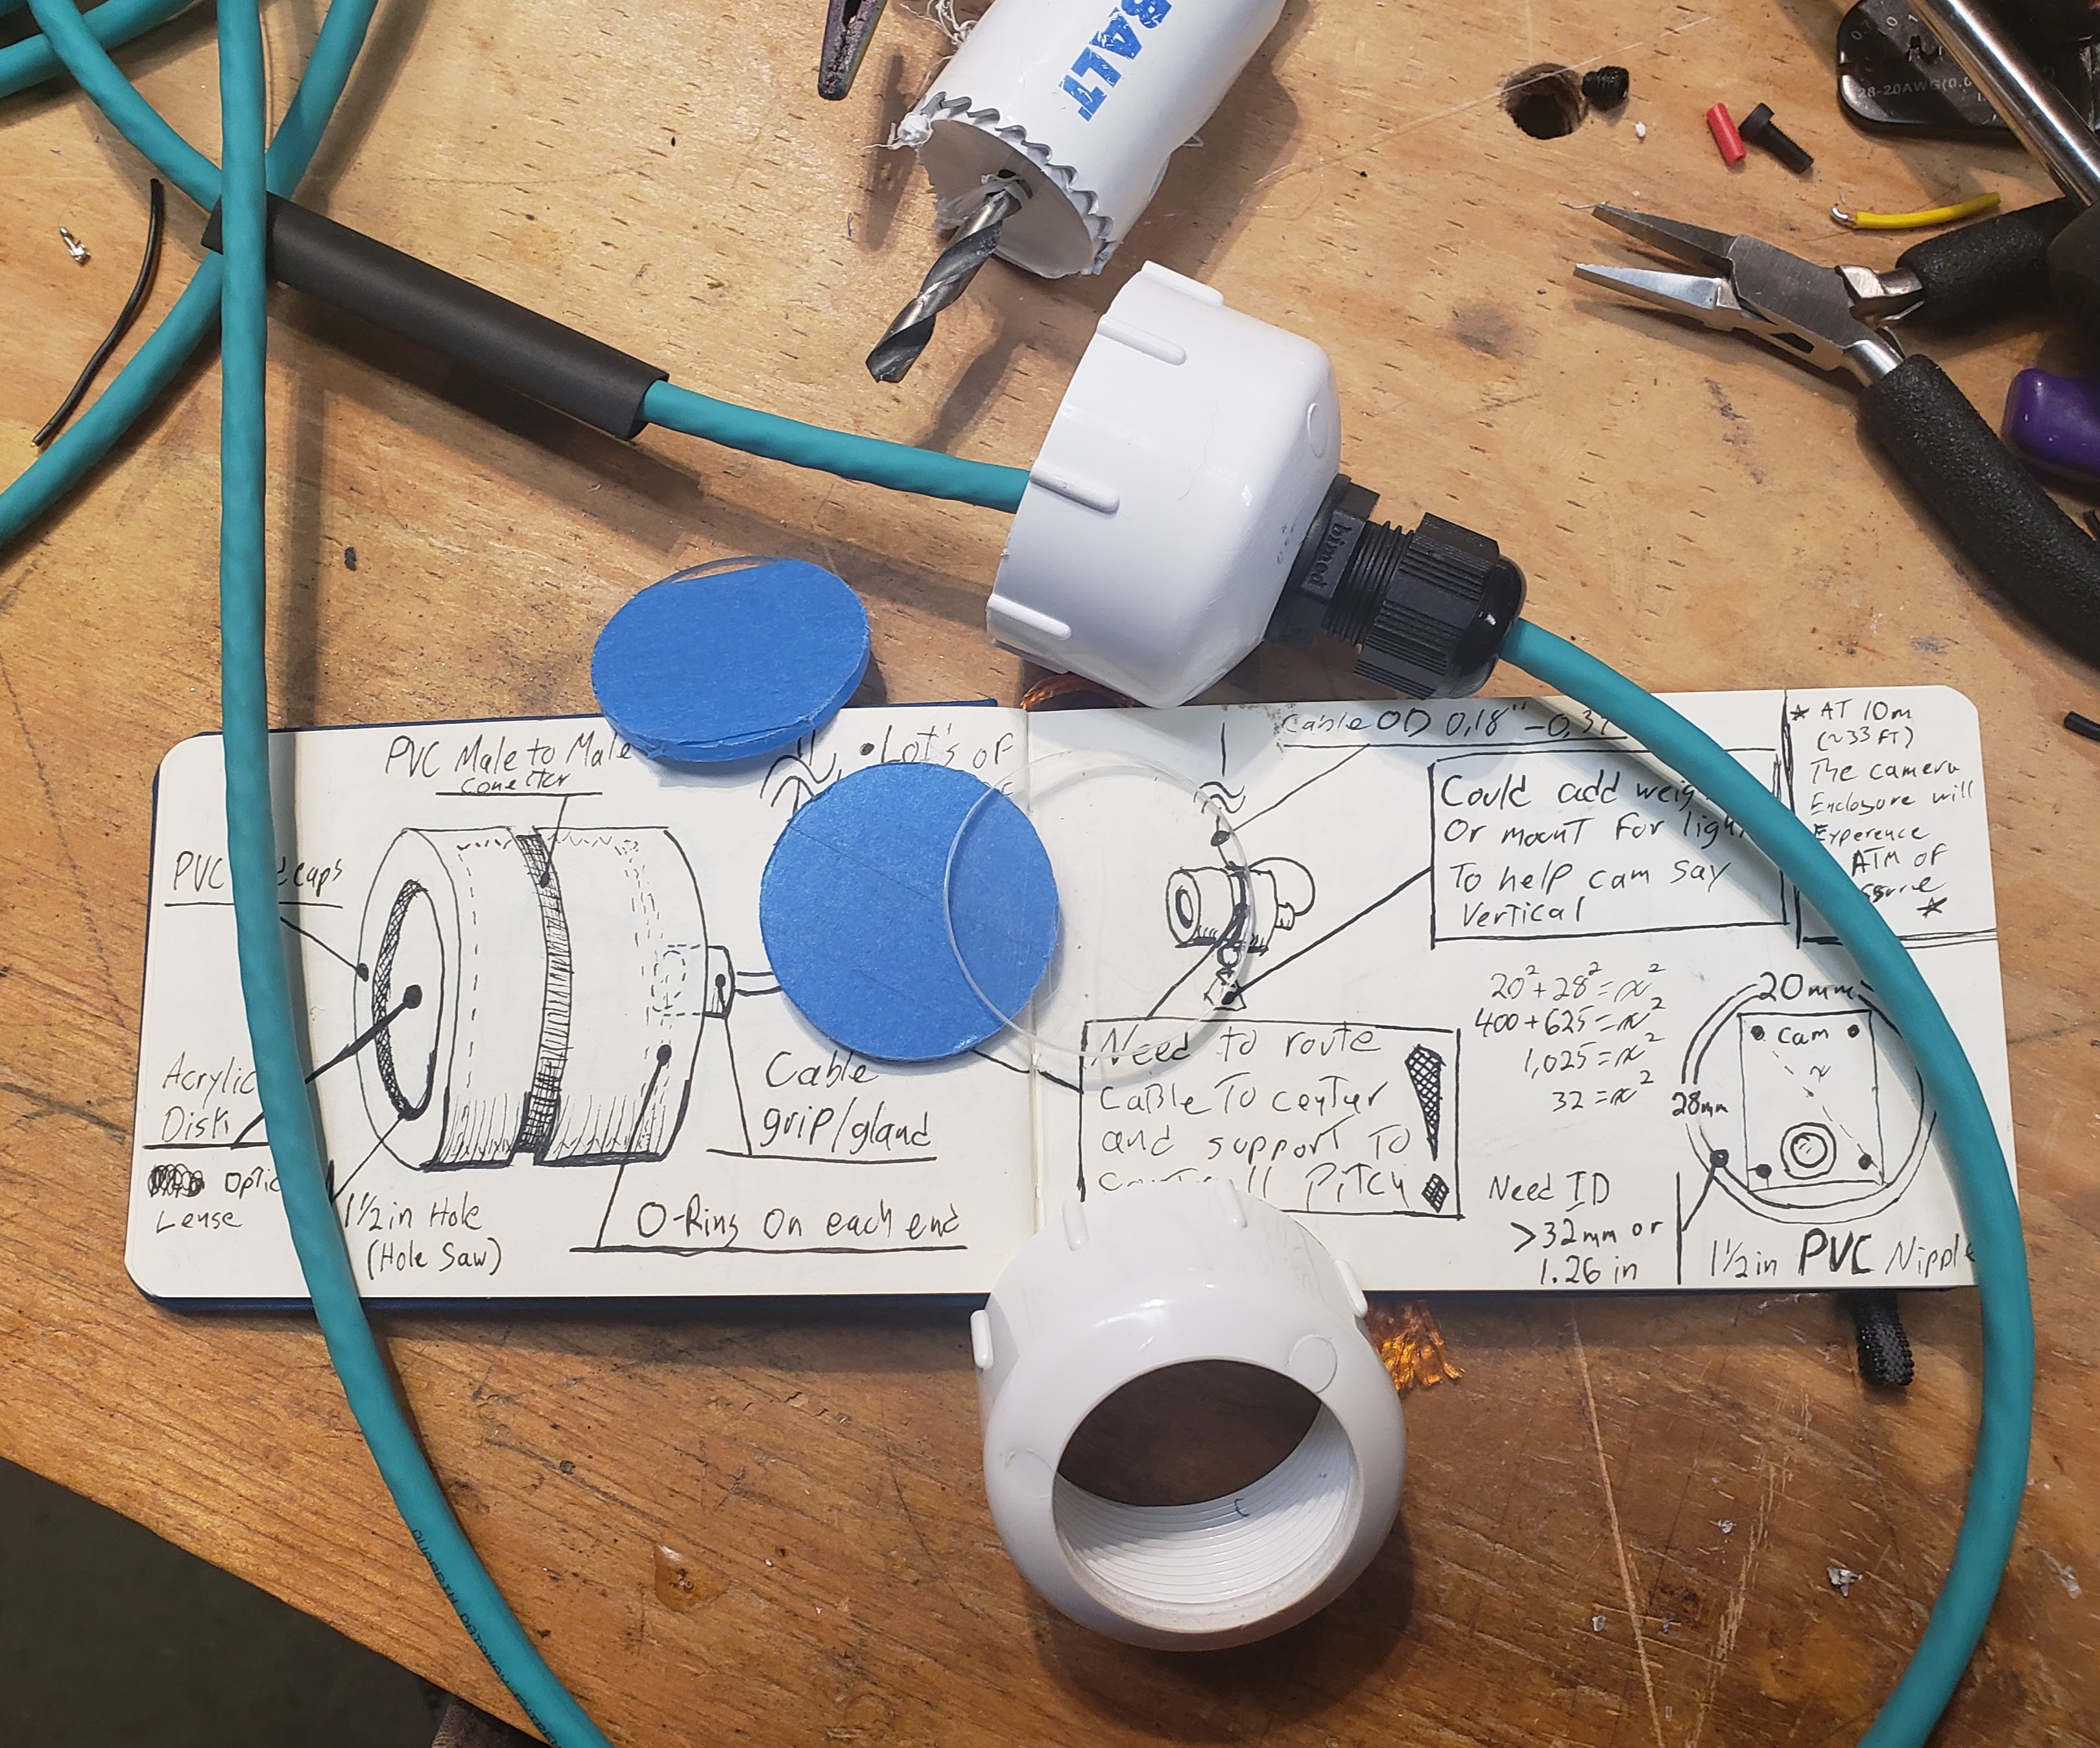
The Camera enclosure consists of two 1 1/2 in PVC caps and a 1 1/2 in CPVC threaded adapter. We drill a 3/8 in hole in one cap to fit the waterproof cable gland. The other cap gets a 1/4 in hole in the center of the cap. The lens in epoxied into the cap and the 3D printed camera mount is inserted into the CPVC adapter.
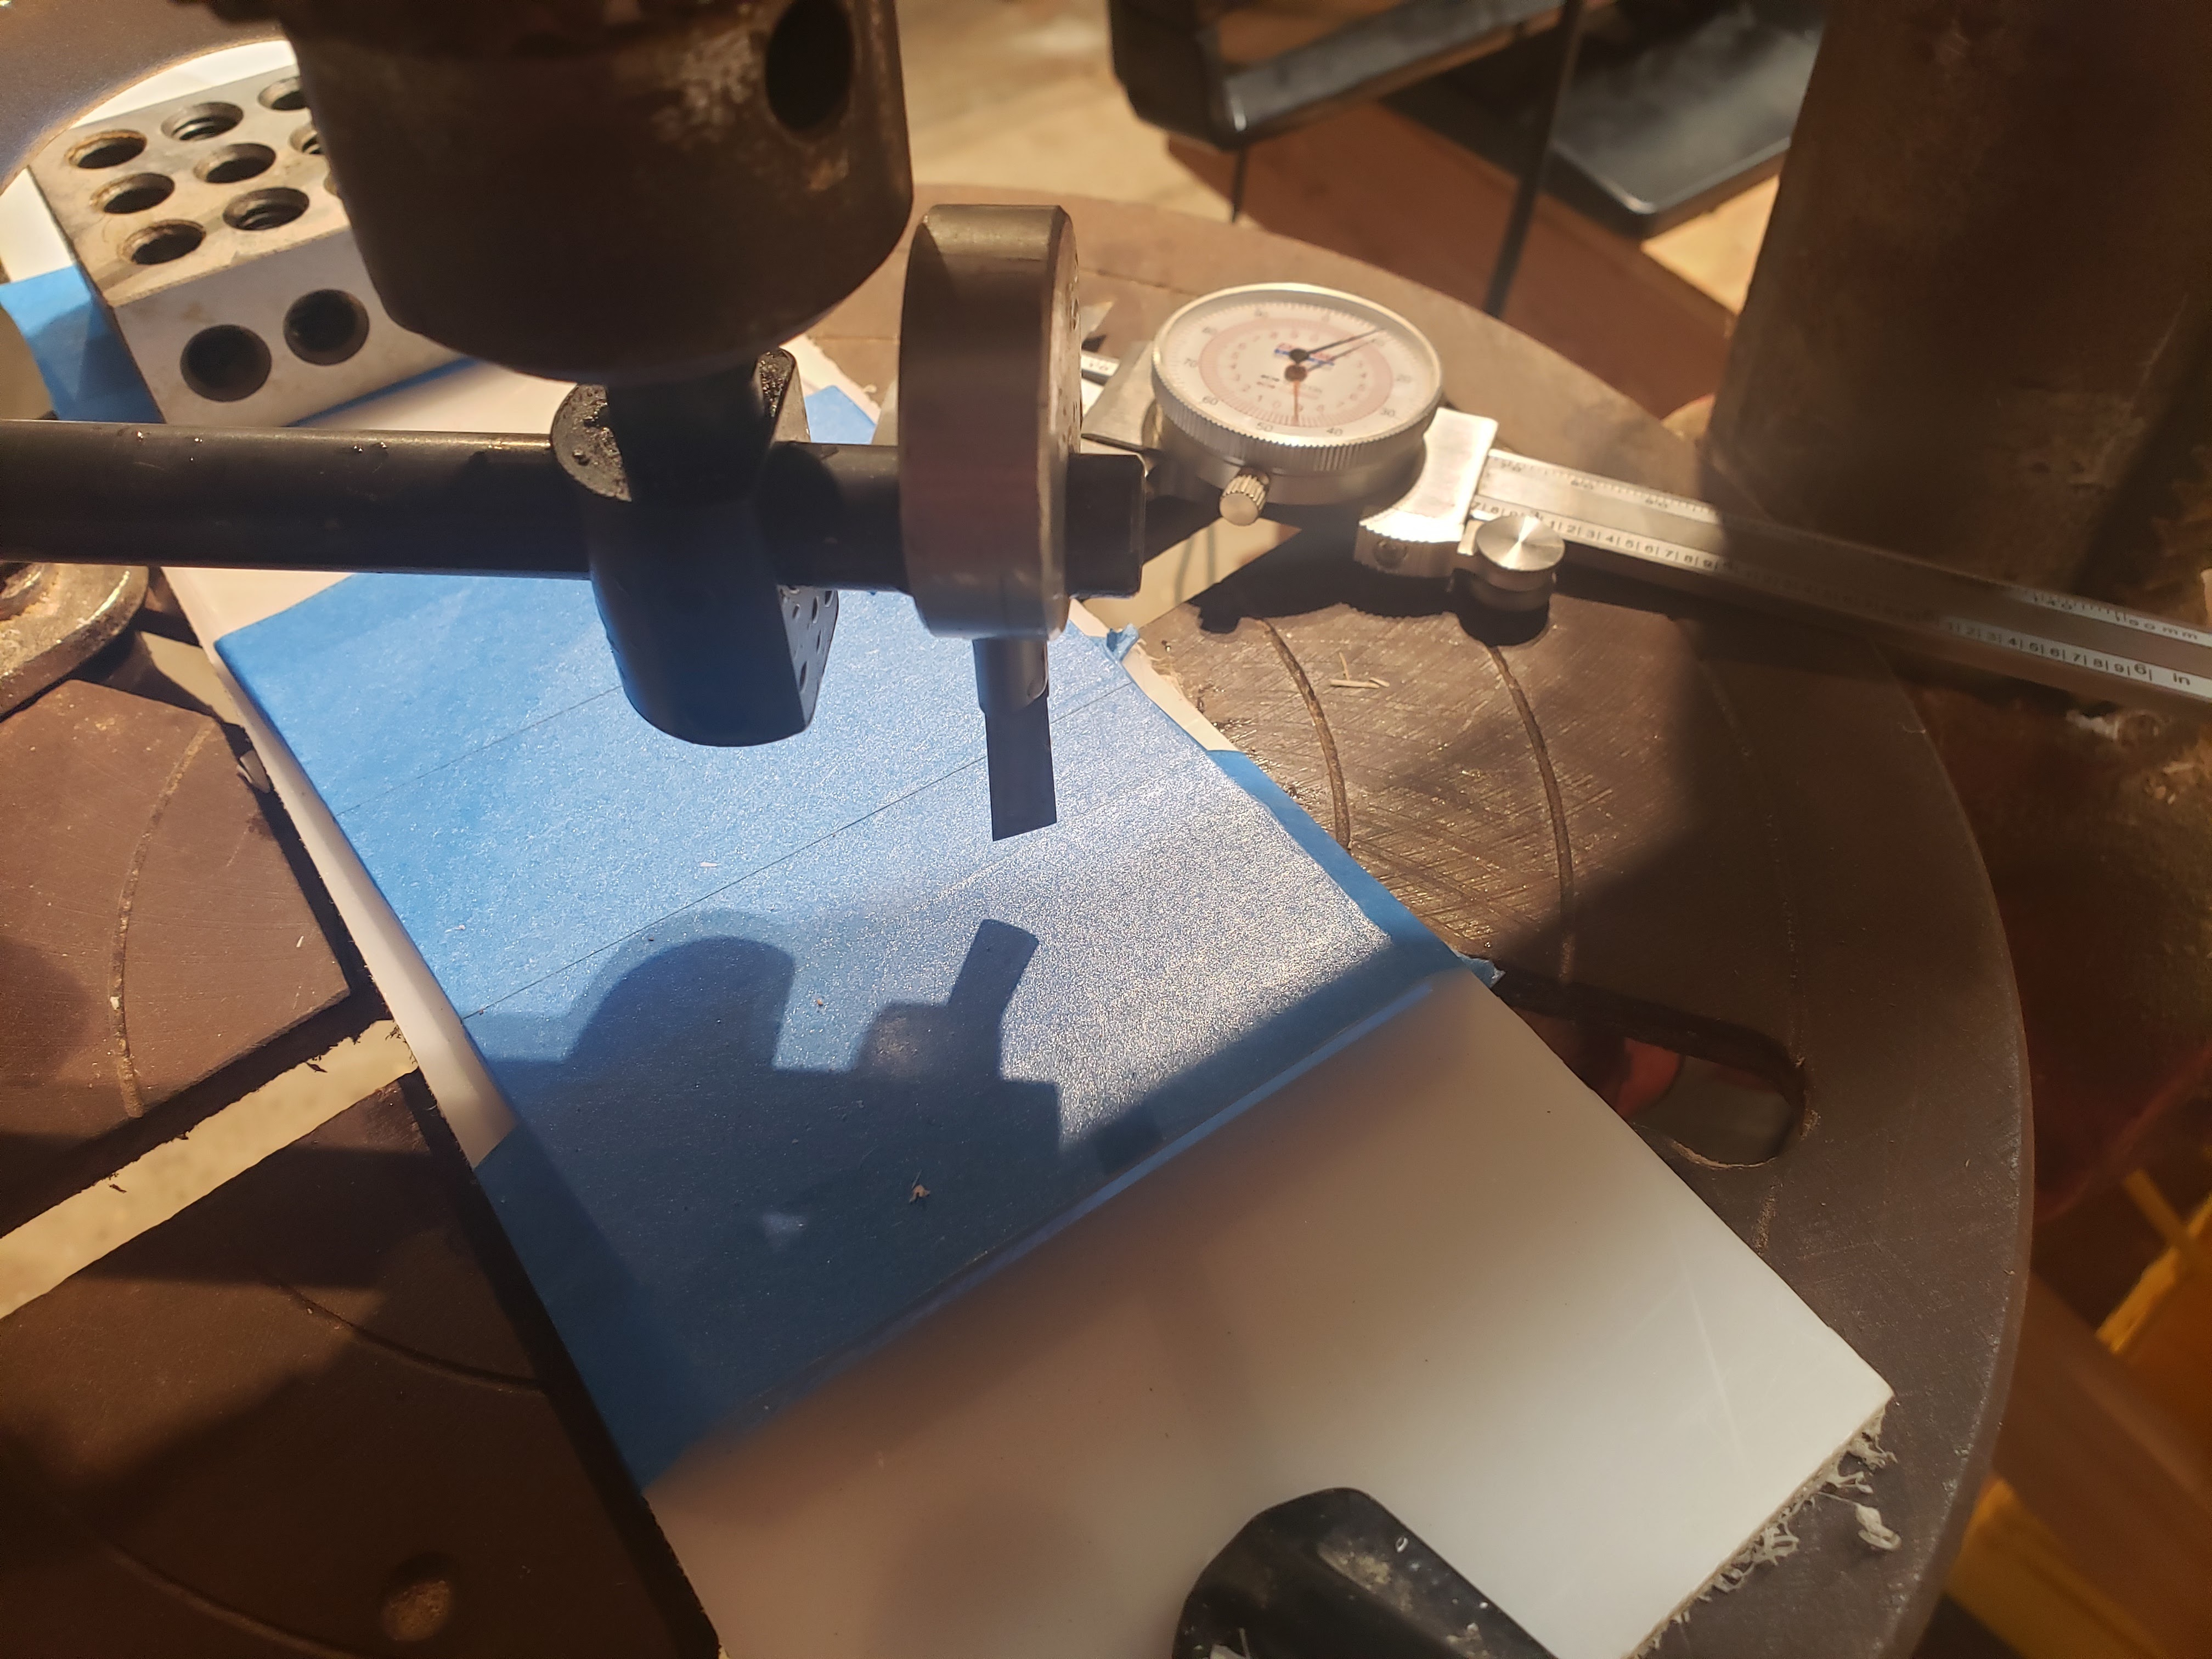
The lens is a bit of an odd size and I could not find a supplier at a reasonable price. As there is little room for error I ended up slowing my drill press down to 200 rpm and using a circle cutter with the center bit removed to slowly cut the 44m lens out of a sheet of acrylic. Not the most elegant solution but the best I could do. The CNC matching is looking like the next tool I need to add to my shop.
After installing the camera attaching the cable the PVC parts can be assembled, the 3D printed enclosure supports added, and the cable is zip-tied to the frame.

